Since updating to iTunes 11.0.3 (or later), many users are experiencing server verifying errors whenever they launch iTunes on their Macs. In most cases, a message window pops up telling that the certificate for that particular server is invalid. It gives the option to continue and connect to the server. However, the message also informs that connecting to that server (which might be pretending to be xxx.apple.com) could put your confidential information at risk.
Here are examples:
“iTunes can’t verify the identity of the server upp.itunes.apple.com” OR “iTunes can’t verify the identity of the server p16-buy.itunes.apple.com.”

If these or similar can’t-identify-the-server messages annoy you on iTunes launch, here you can learn how to fix the problem. The method explained below is for Mac computers only.
How to Fix iTunes Can’t Verify the Identity of the Server
This solution is tested works for the majority server verifying errors with iTunes. However, you should know that this bypasses the built-in security for trusting unknown (in this case Apple’s) certificates.
The server-verifying errors are happening right after making an update through the App Store (official update for iTunes). So, the risk of getting malicious software, even when you disabled the built-in security for these Apple’s certificates, stays at a minimum level.
Nota: El uso de este procedimiento en los casos en los que los errores de verificación del servidor NO ocurren después de una actualización oficial de iTunes aumenta el riesgo de tener software malicioso en su Mac.
- Primero, cierre iTunes y App Store en su Mac.
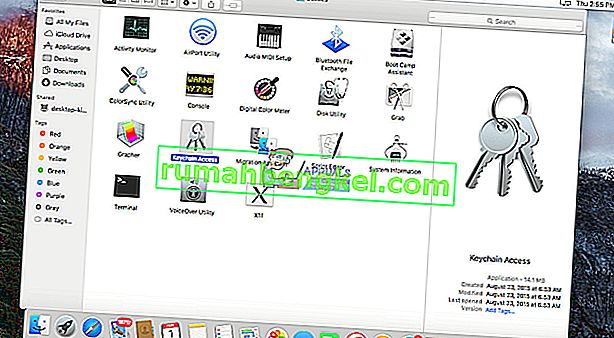
- Inicie Finder y navegue hasta Aplicaciones > Utilidades .
- Ahora, abra Acceso a Llaveros .
- Haga clic en Raíces del sistema , en la sección Llaveros .
- Haga clic en Certificados , en la sección Categoría .
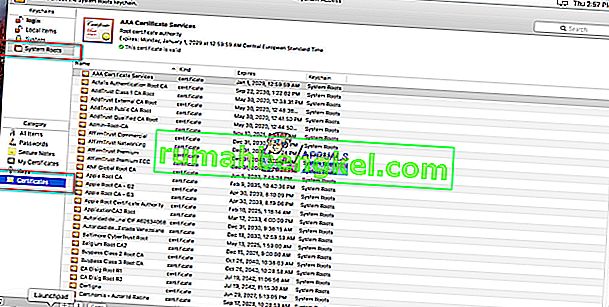
- Eche un vistazo a los certificados . Para cada uno en la lista que muestre un pequeño punto azul con un signo más (+), siga los siguientes pasos:
- Doble - clic en él para abrir.
- Ahora, haga clic en el triángulo junto a "Confianza".
- En “ Secure Socket Capa ( SSL )” seleccionar “ Sin valor especificado .”
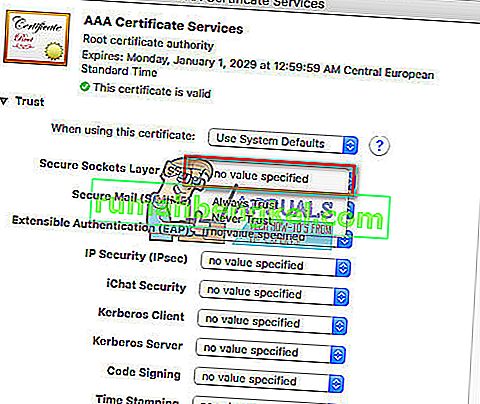
- Cierre el certificado (si es necesario, ingrese su contraseña de administrador).
- Haga doble clic en el certificado para abrirlo nuevamente.
- En " Al usar este certificado :" seleccione " Usar valores predeterminados del sistema ".
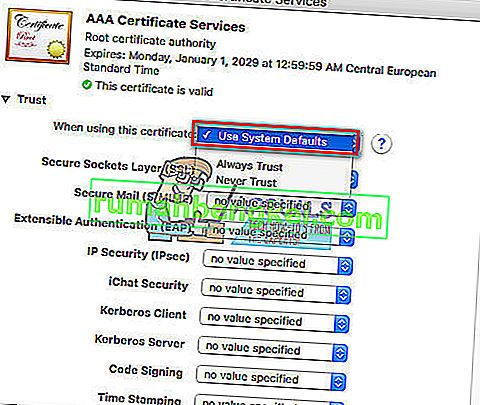
- Cierre el certificado (si es necesario, ingrese nuevamente su contraseña de administrador).
- Ahora, el punto azul con el signo más (+) debería desaparecer.
- Asegúrese de realizar este procedimiento para cada certificado con un punto azul .
- Cuando ya no haya certificados con ese punto azul, cierre el Acceso al llavero
- Ahora, inicie iTunes y la conexión debería funcionar bien. No debería hacer que el servidor verifique los errores que obtuvo antes.


Hasta este momento, nadie ha reportado resultados negativos con esta solución. Asegúrese de compartir su propia experiencia en los comentarios a continuación.